
Travel Itinerary: 7 DAYS IN UTAH
My week in the stunning state of Utah! I visited some of the most beautiful National Parks in the country and a popular ski resort town.

Day 1: what happens in vegas
Welcome to Las Vegas! The closest airports to Utah’s Mighty Five are Salt Lake City and Las Vegas. For us, the choice was simple - fly into Vegas to launch our annual girls trip and spend the night catching up with a beautiful meal (and a bit of dancing).
Logistics: We booked our flights direct via JetBlue from Boston to Vegas (on the way home we flew out of Salt Lake City via Delta). Once we arrived to the Vegas airport, we grabbed a cab and were dropped off at our hotel.
Accommodations: “When in Vegas” for a short stay, it only makes sense to book a room in the heart of the strip. There are plenty of hotel options, but we chose a suite at Mandalay Bay (there were four of us, so a suite made sense).
To do: We quickly got ready in the room and then headed out for a late dinner at Kumi (modern Japanese cuisine with a Korean American twist). Somehow we all gained our second wind and made it through dinner with enough energy to continue our evening. We decided on heading to the Skyfall Lounge (rooftop bar with panoramic views of the strip) and then Chandelier Bar (a crystal-ensconced bar at the Cosmopolitan).
Day 2: under canvas zion
After a late, and lively night in Las Vegas we needed a nice spot to relax and well…sleep. Going to bed at 5AM certainly had an impact on our group of 30-year-olds…
Logistics: We grabbed a taxi and headed to the airport to pick up our car rental. We booked with Fox Rent-A-Car, but I probably wouldn’t recommend it, as you have to take a shuttle to get to the rental site (the downside of a good deal). Most of the rentals were right at the airport, so I would just book with one of them next time. The drive from Vegas to Zion was 2.5 hours and came with stunning views all along the way!
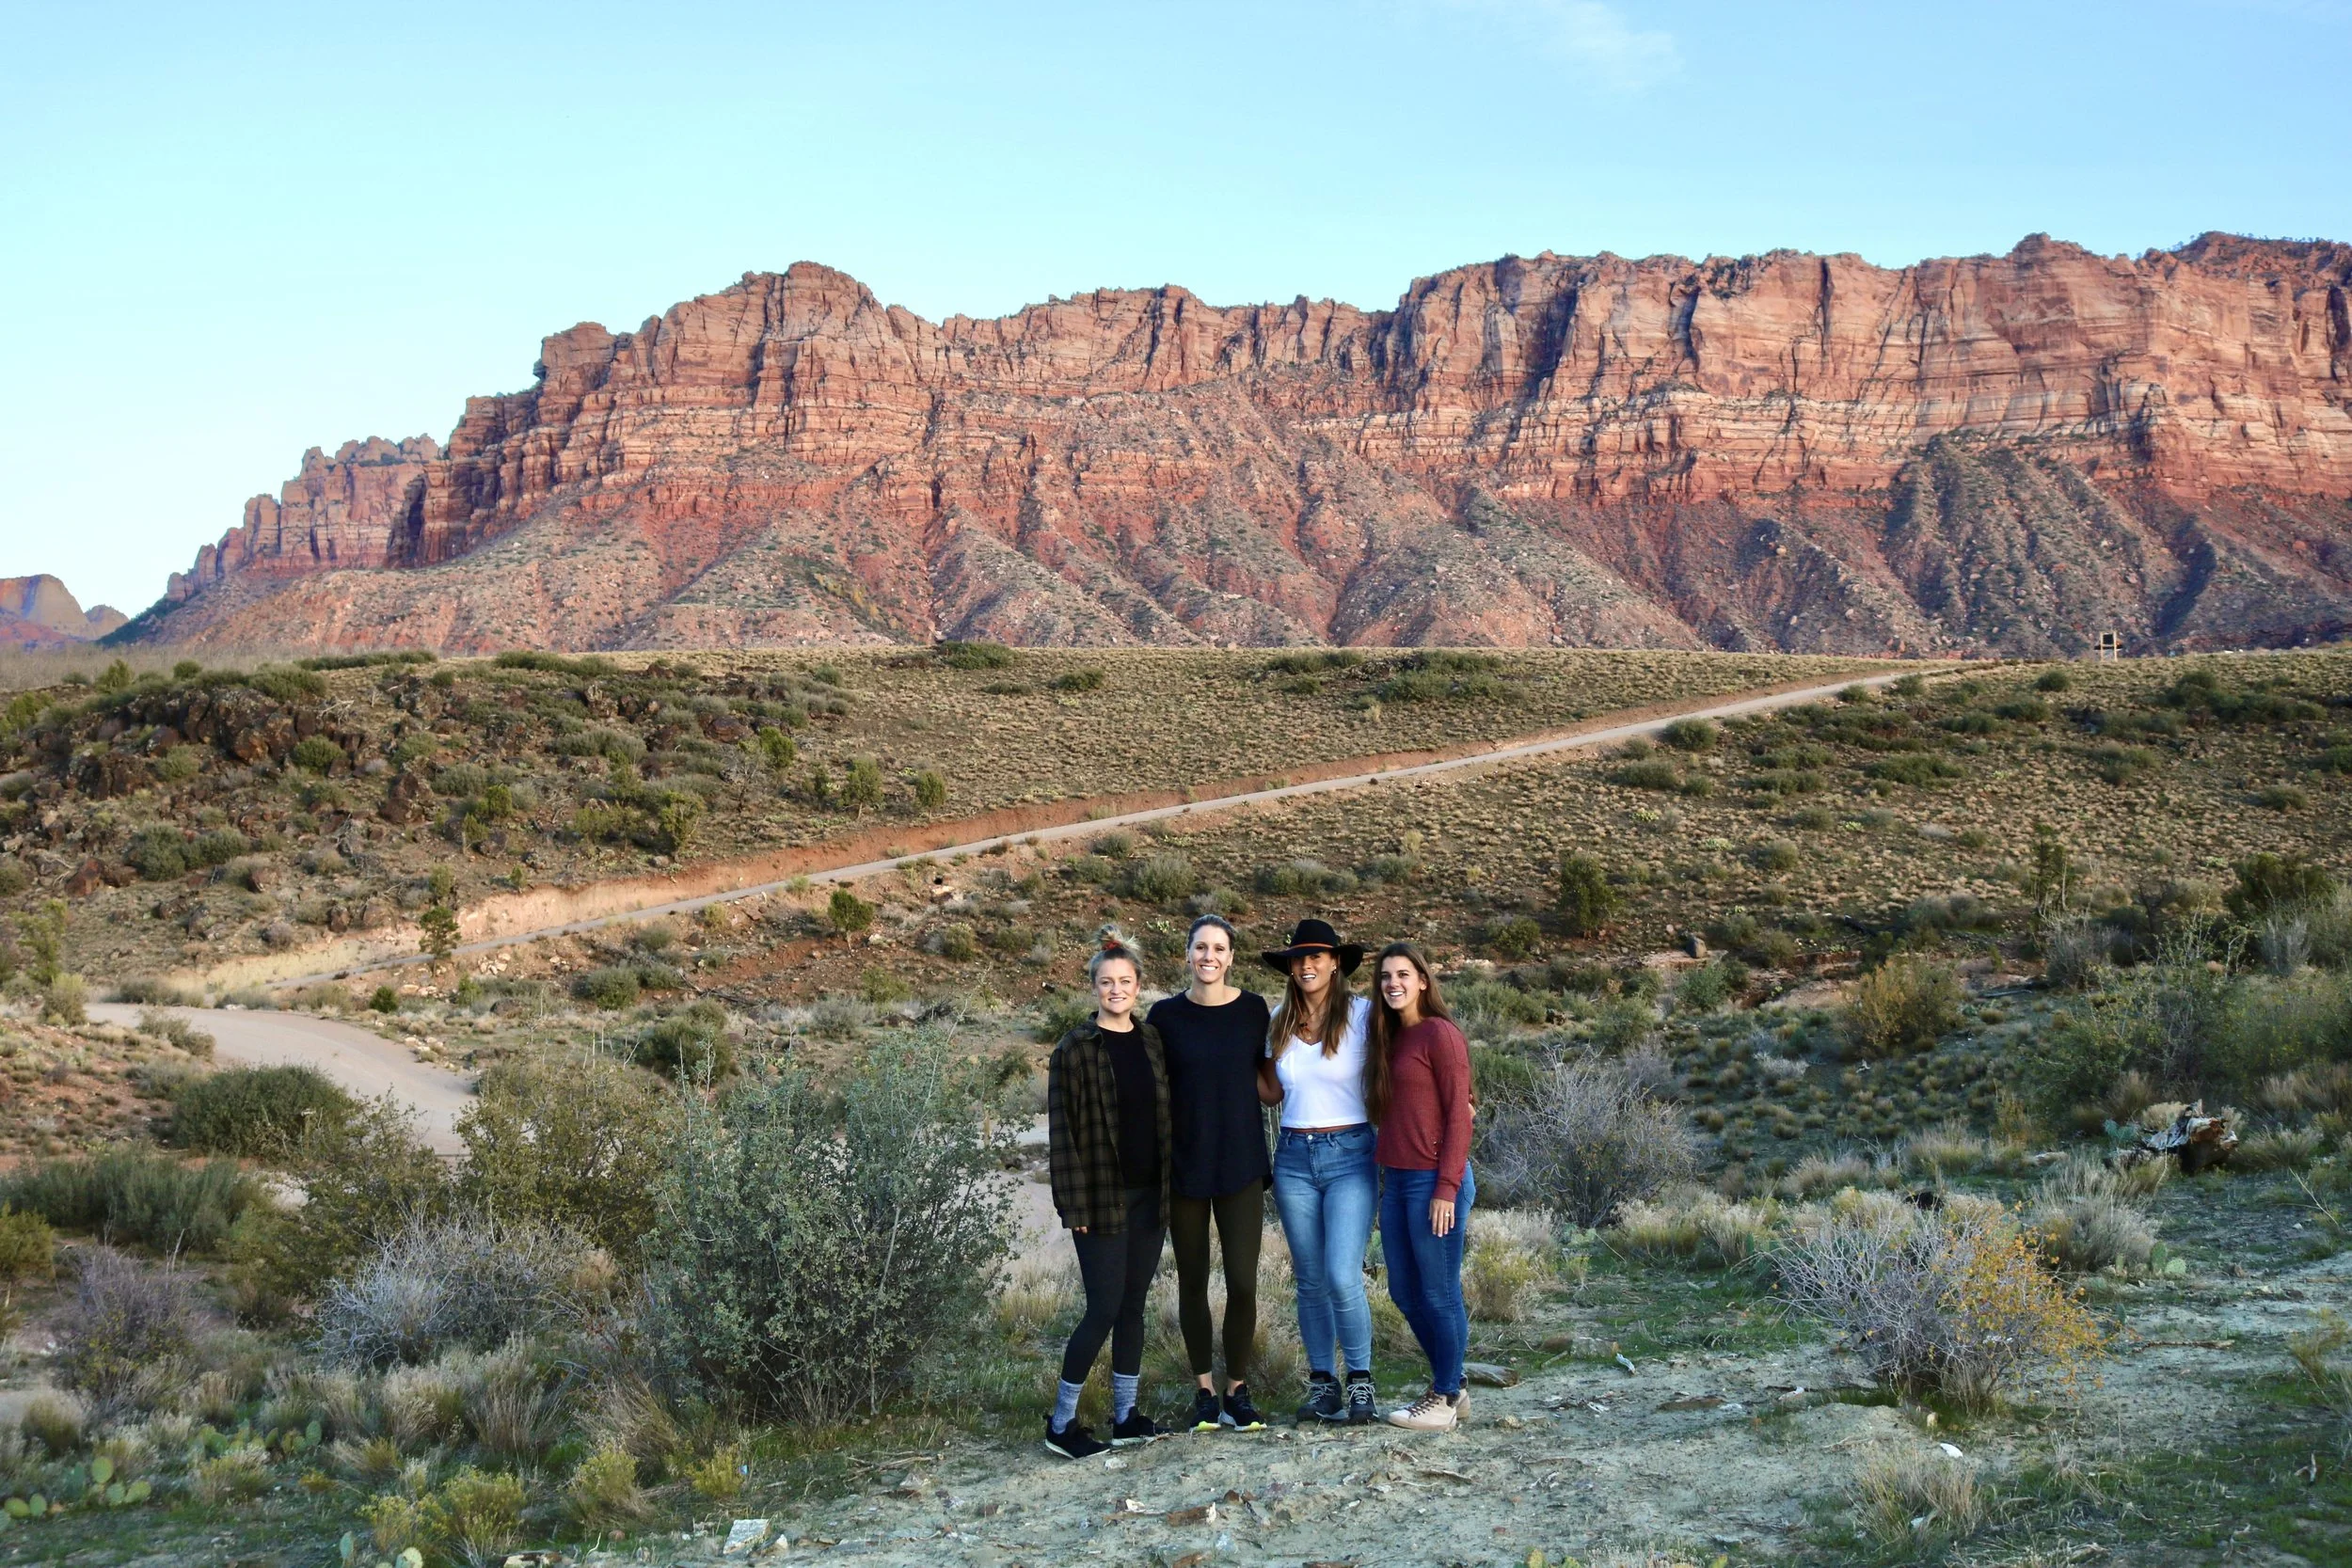
Accommodations: We stayed at the most beautiful glamping location, Under Canvas Zion. Under Canvas has ten locations, all of which are next door to one of the country’s National Parks. The tents are secluded upscale accomodations with incredible dessert views of red sand walls. There is live music each night, an on site restaurant and fire pits (with s’mores!).
To do: We used this day to relax and take in the views. We checked into the resort around 3pm and spent the night relaxing and dining by the fire.
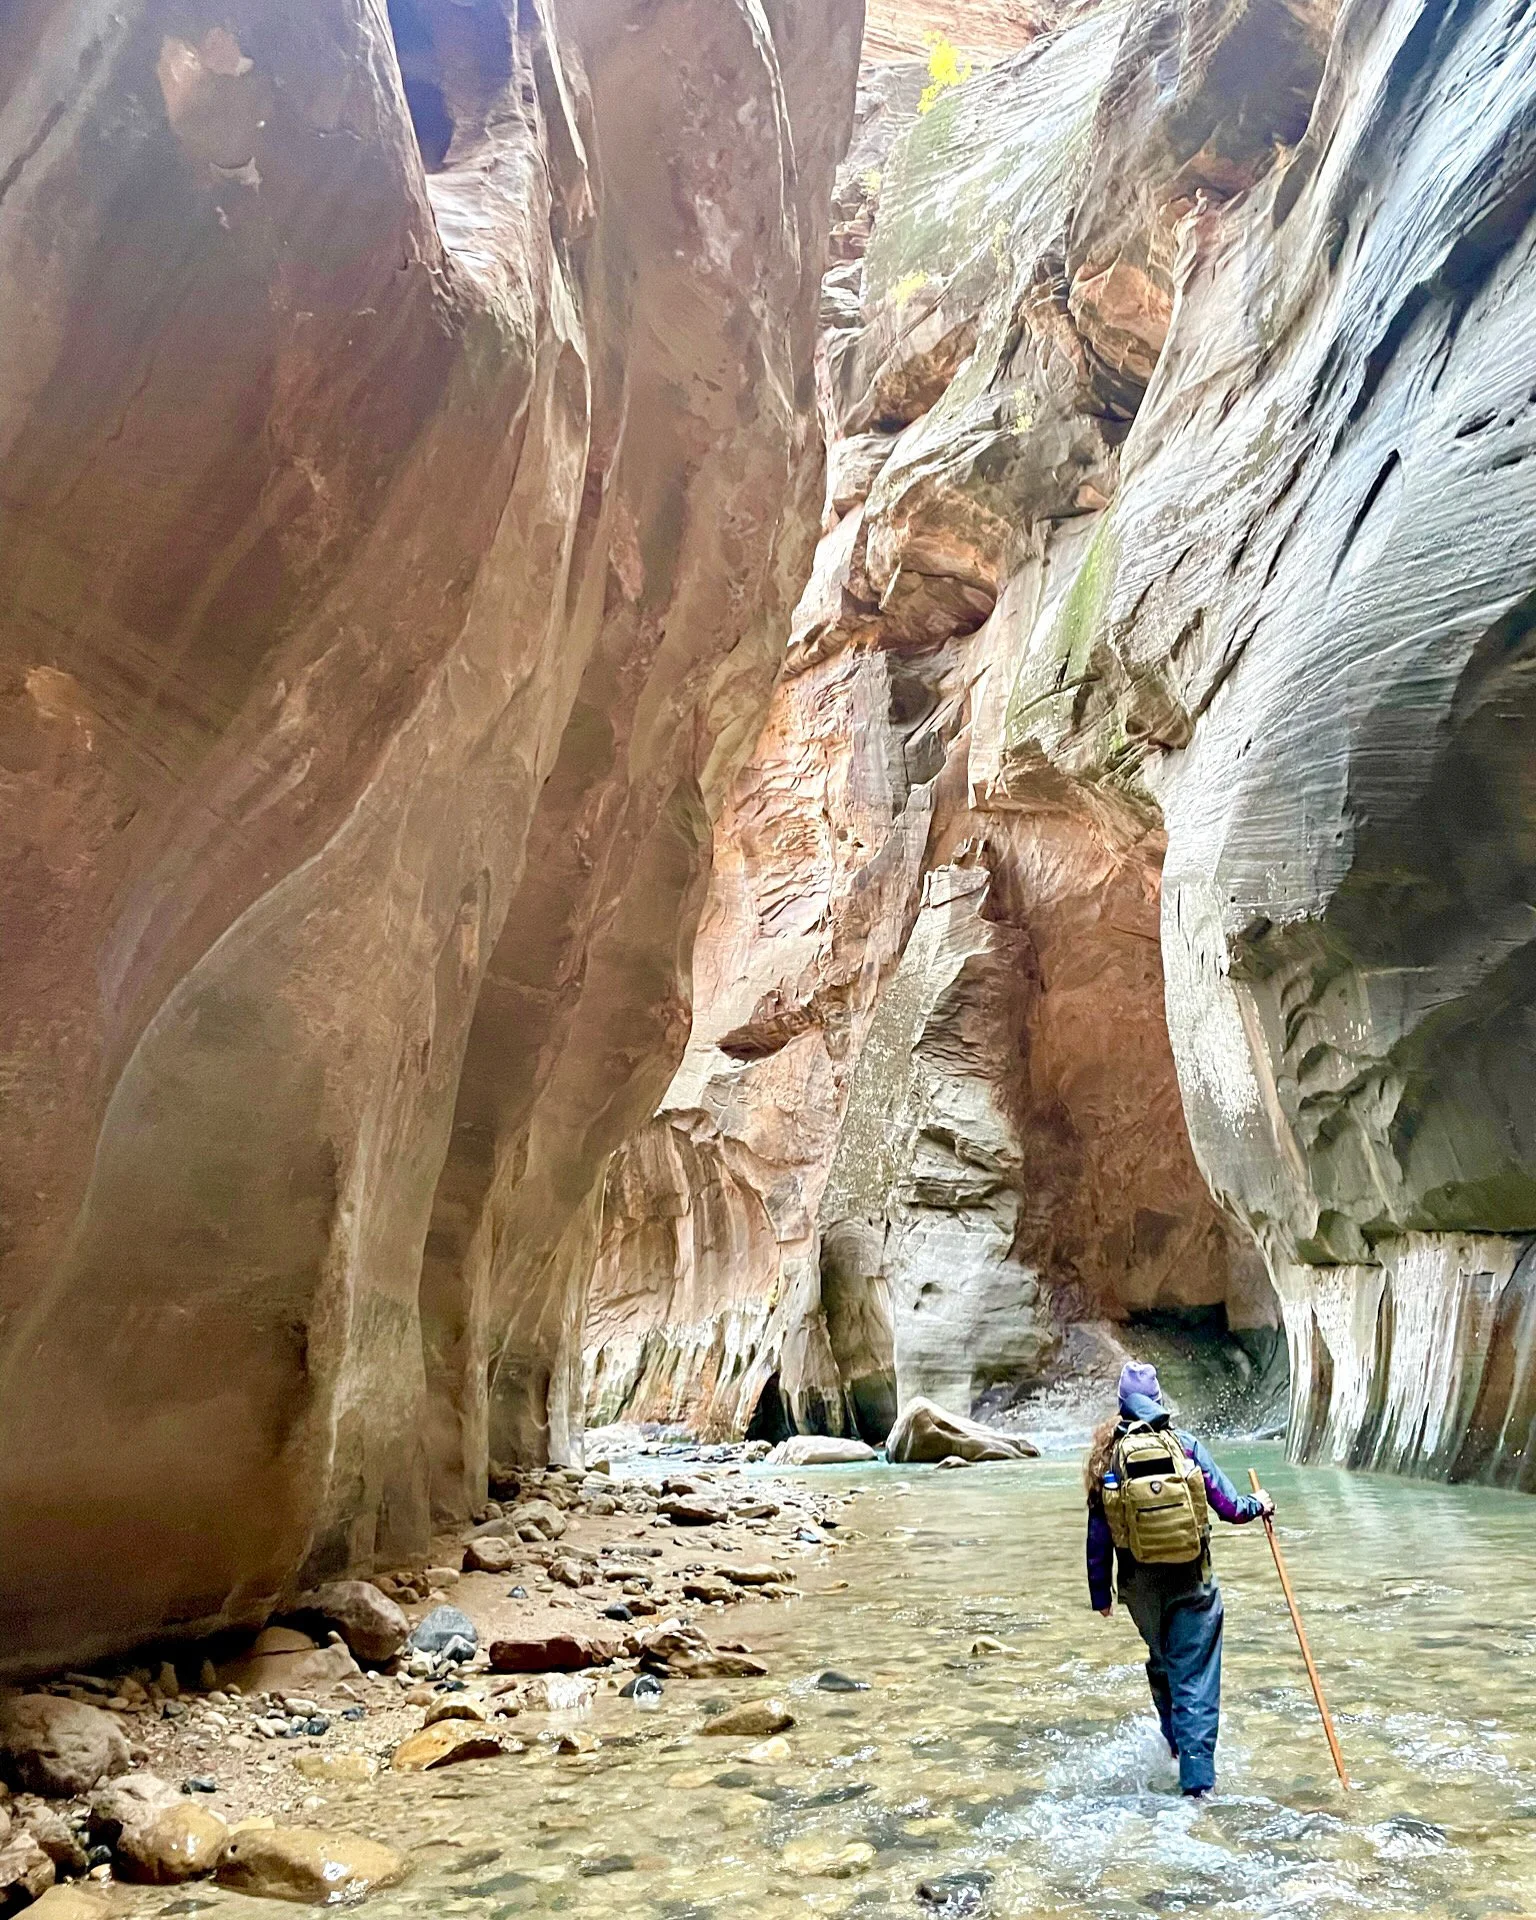
Day 3: The Narrows
We woke up for sunrise to get an early start on the day. We wanted to get to the park at a reasonable hour to avoid crowds - but the great thing about traveling in the off season? There were no crowds at Zion at the end of October.
Logistics: It is a 30 minute drive to Zion National Park from the Under Canvas glamping location - so not bad at all! Again, you can’t beat these views.
To do: Once we arrived at the park, we purchased a park pass to enter for $35 per vehicle. If you plan to visit multiple National Parks each year, I highly recommend the America The Beauty pass. This pass gets your access to every single National Park in the United States for the entire year for only $85 (After visiting 6 National Parks this year, I realized that I’ll be purchasing one for 2022).
We parked our vehicle and stopped right outside the park (just over a walking bridge) to rent our equipment at Zion Outfitter for The Narrows hike. Just an FYI - you need to bring your park pass with you because technically you’re leaving the park to rent the equipment so you’ll need to show your pass when you re-enter.
The equipment is necessary in the colder months, but really in any season if you don’t want to get completely soaked (who likes hiking in wet shoes?!). We rented the following:
Canyoneering boots - specifically designed for slippery conditions that maintain grip while wet
Neoprene socks - insulate the foot and prevent the blistering and the discomfort accompanied with hiking in wet boots
Dry pants - come up to the waist and have a tight rubber gasket in the ankle or the pants to keep all the water out
Wooden hiking stick - for stability and balance
Would highly recommend renting, as it made for a very comfortable and enjoyable hike. This hike is a very unique and memorable experience. The end of October/early November was a perfect time to visit. The leaves were changing, the park was relatively empty and it was still warm enough to enjoy everything Zion has to offer.
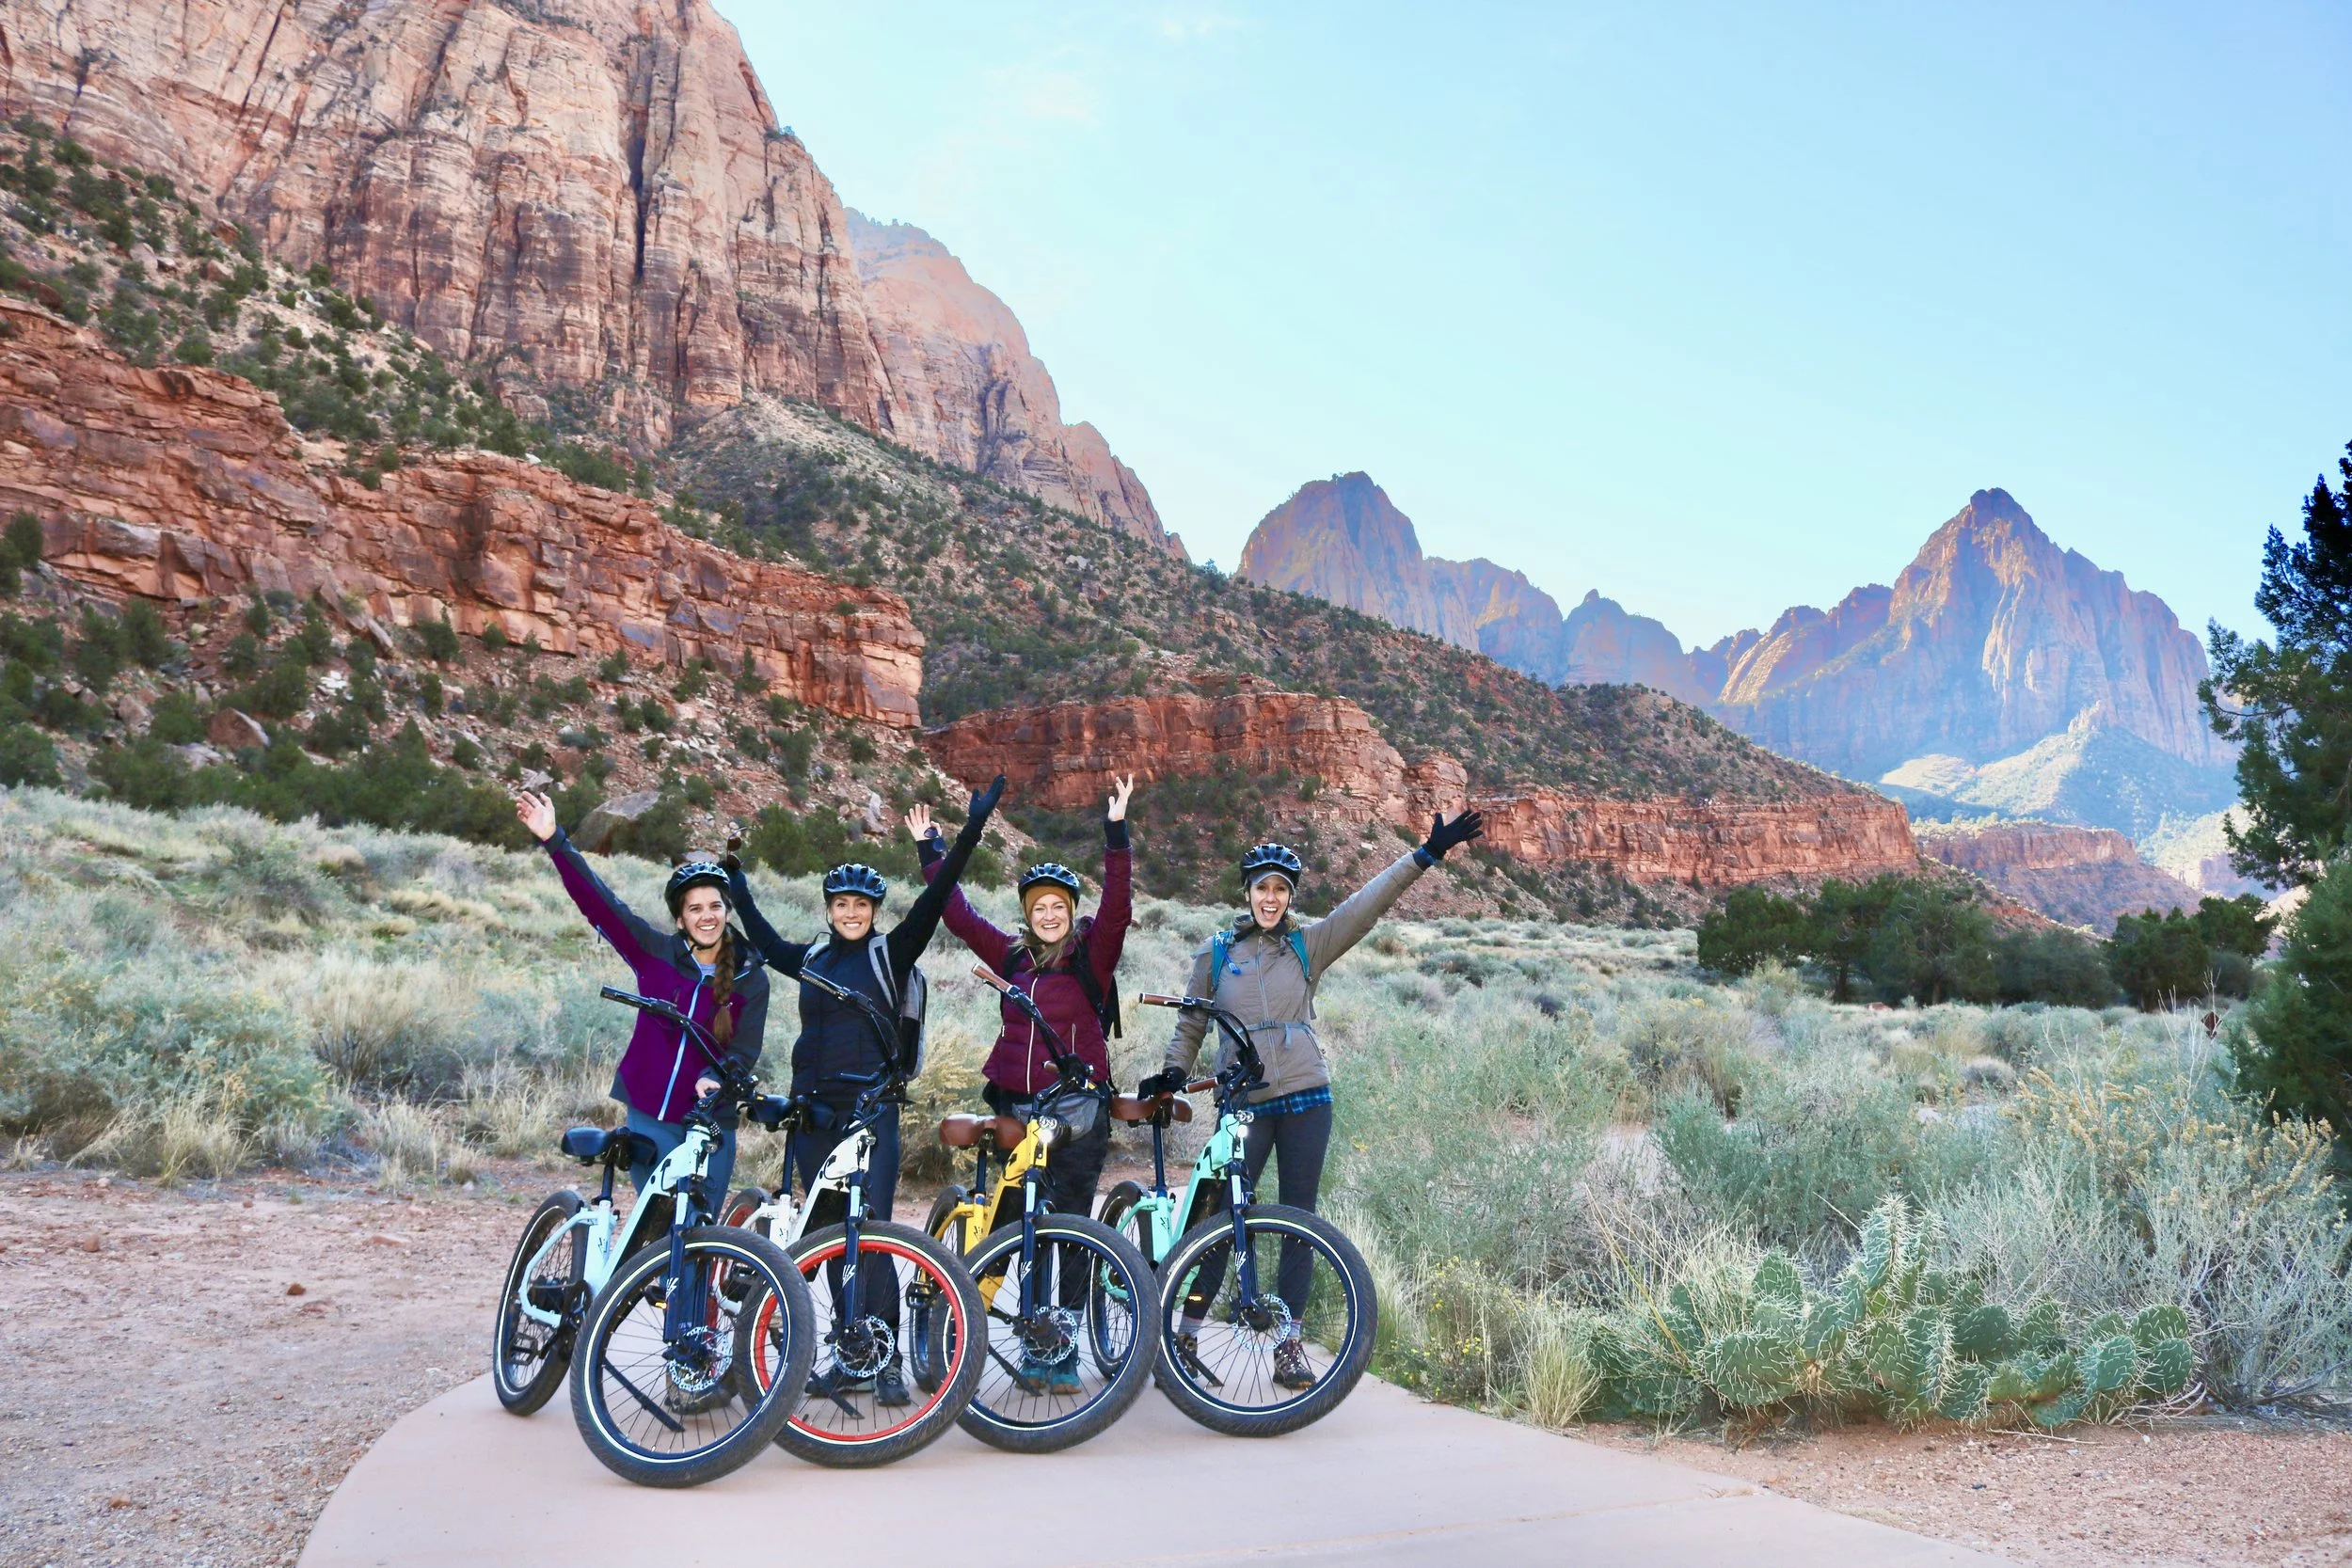
Day 4: rent e-bikes
We found that the best way to see the whole park is to rent e-bikes for the day. During most of the year, cars are not allowed inside the park so you’ll have the road to yourself (other than the shuttle bus).
Logistics: Right outside of the park entrance, we rented bikes from Zion Peddler. The cost was $95 for a full day.
To do: After a quick lesson from the instructor (and signing our lives away), we rode throughout the entire park. We made a couple stops for a quick break and then ended up hiking the Emerald Pools trail. To get to Emerald Pools you head to the Zion Lodge (stop 5 on the shuttle), lock your bikes on the bike rack and then follow the signs to the trailhead. The hike was a moderate loop, approximately 3 miles, with stunning views, pools and waterfalls.
After a full day of touring the park, we drove our bikes to Whiptail Grill. Highly recommend this restaurant - the food was excellent.
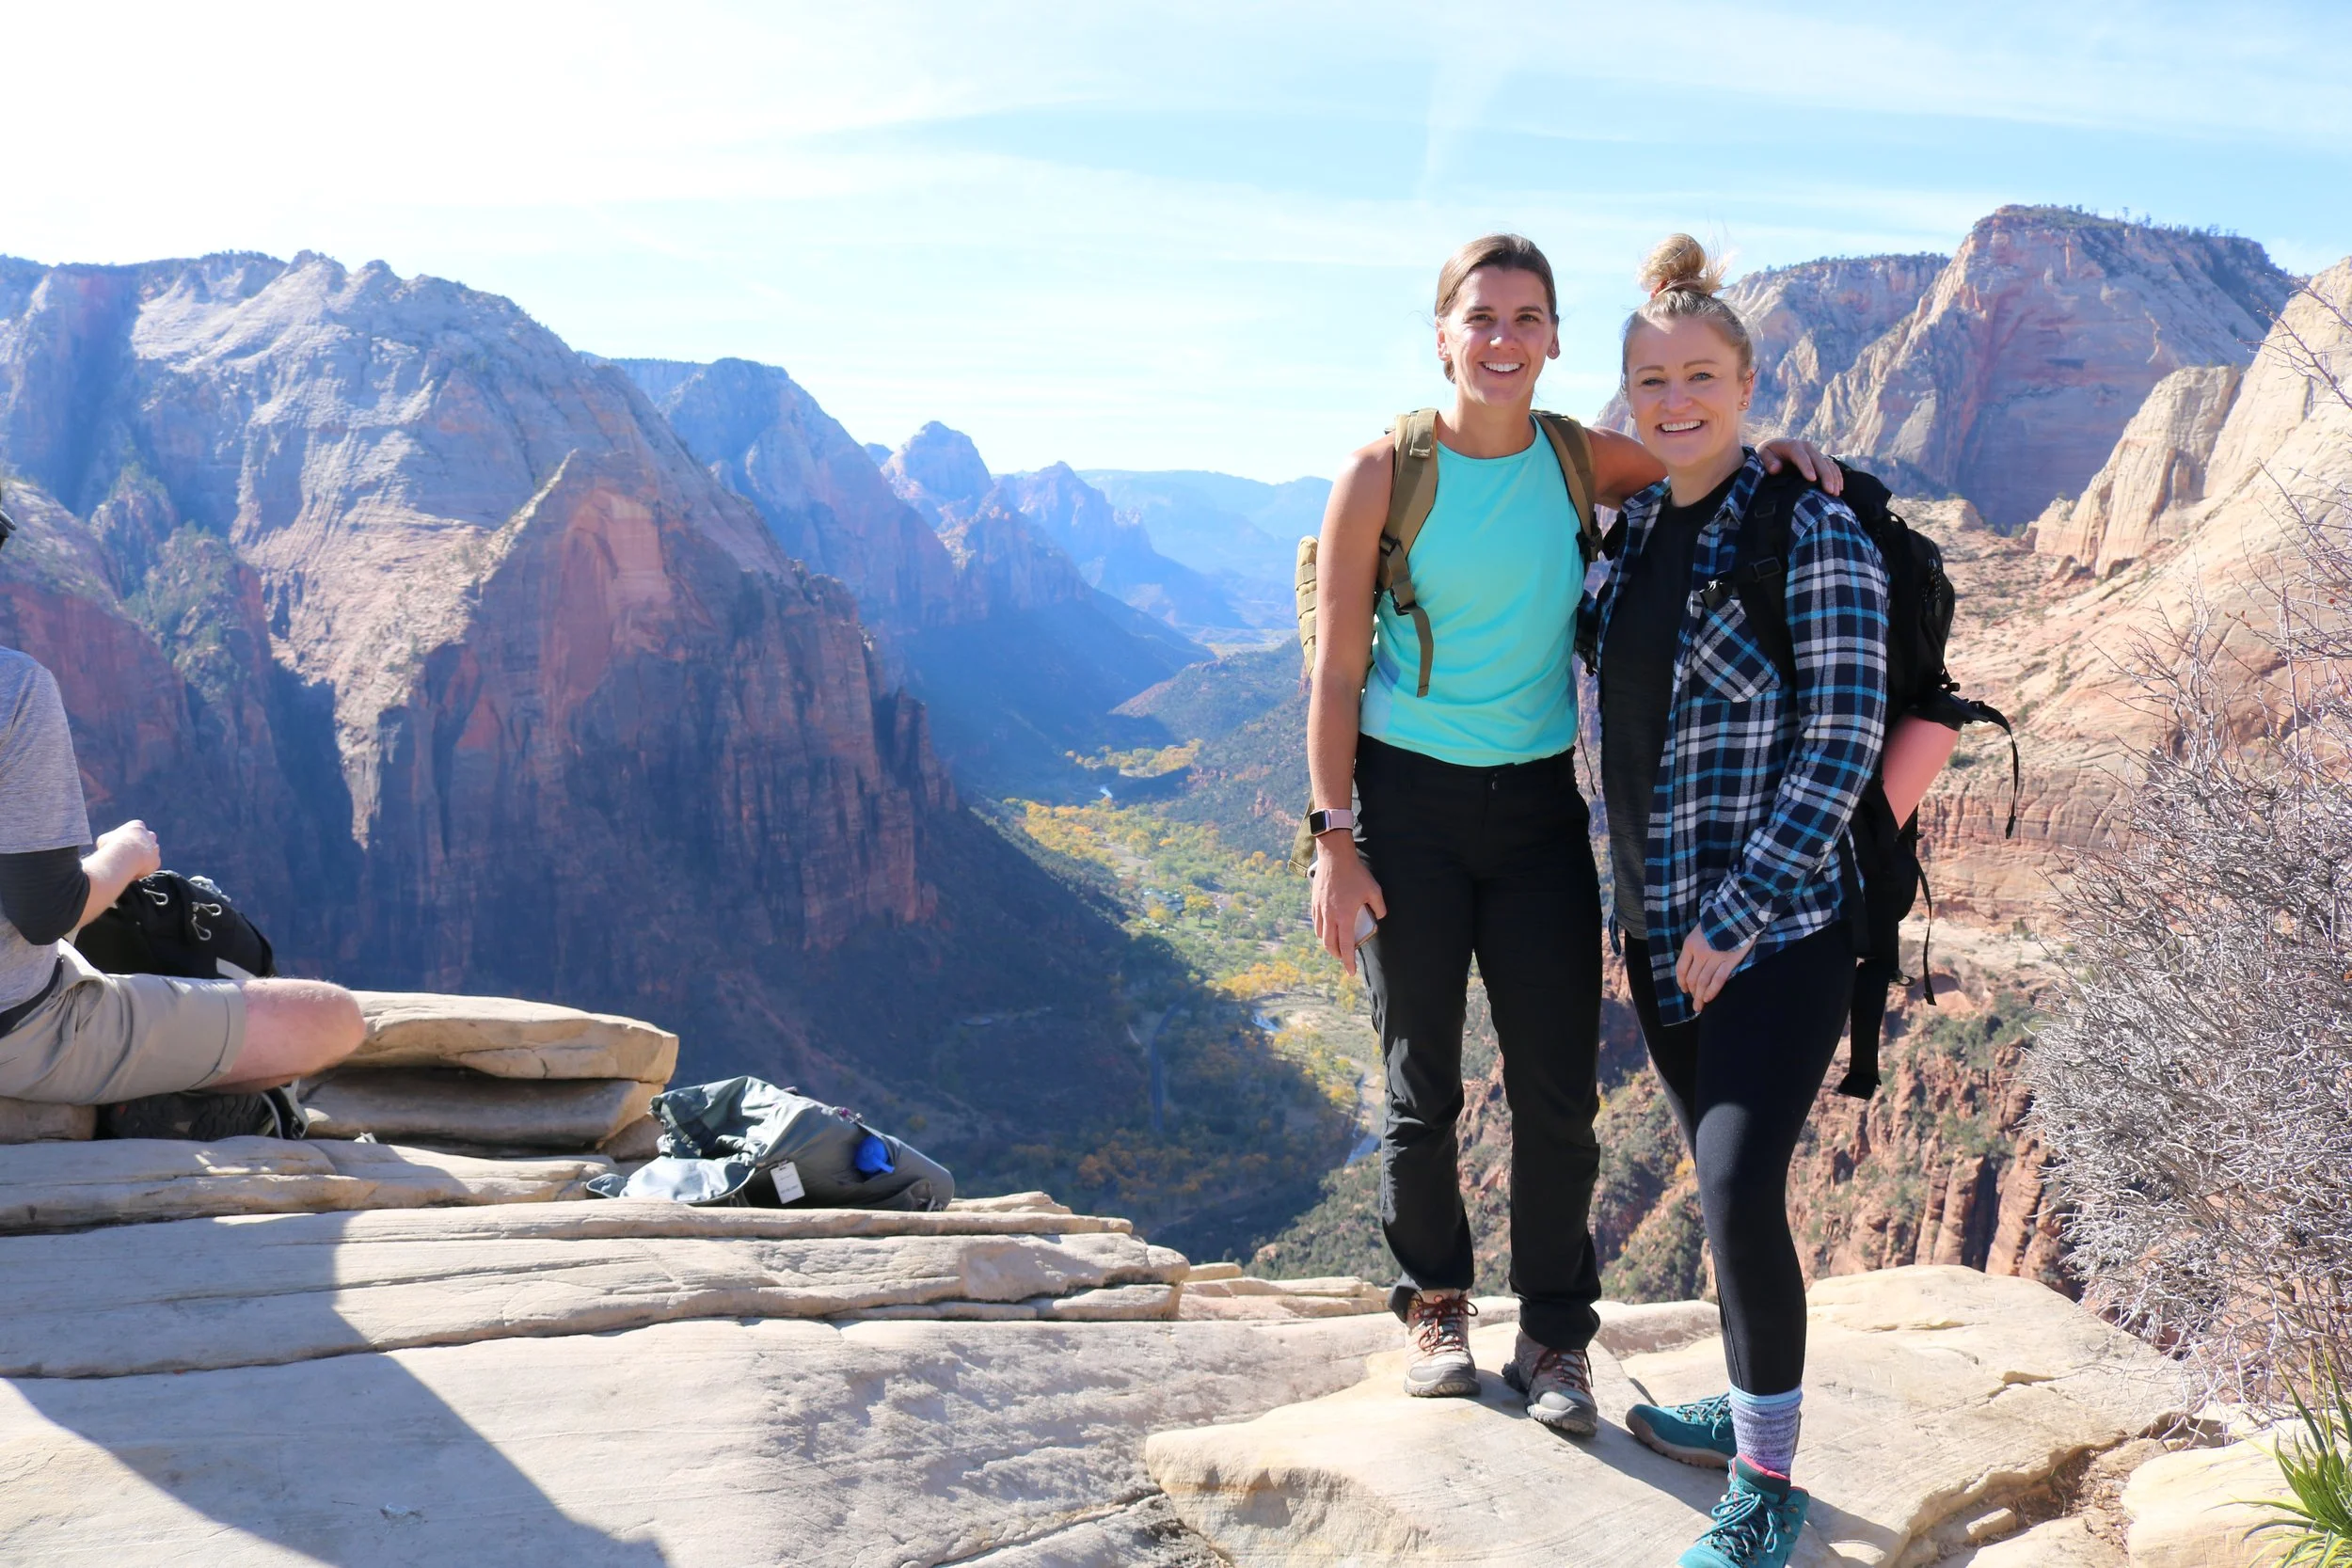
Day 5: ANGELS LANDING
This was our final day in Zion, so we woke up for sunrise and packed our bags. We planned to hike Angels Landing and then drive the 90 minutes over to Bryce Canyon National Park.
Logistics: We packed up the car and checked out of Under Canvas Zion (after a final breakfast onsite). We drove into Zion and took the shuttle to Angels Landing. After the Angels Landing hike, we drove the aforementioned route to Bryce Canyon. I highly recommend you eat in Zion before you head to Bryce Canyon, as there are no restaurants along the way and the options are much more plentiful in Zion.
Accommodations: We stayed at one of the only options near Bryce Canyon, Best Western Plus Bryce Canyon Grand Hotel. This hotel was large and modern with a spacious hot tub - perfect for post hikes. The beds were comfortable and they offered a large breakfast spread each morning.
To do: Hike Angels Landing! Angels Landing trail is a 4.4 mile heavily trafficked “out-and-back” trail, rated as difficult. The fact of the matter is that Angels Landing is one of the most dangerous hikes in the country. People do fall off the edge of this chunk of rock - it has steep drop offs and very narrow sections.
The beginning of the hike is completely reasonable with beautiful views and standard inclines/switchbacks. Then you get to the beginning of the “chain” section of the hike, where it starts to get a little sketchier and almost a little shocking that people hike this way. Once you get past this portion of the hike you arrive at Scouts Lookout, causing you to quickly realize that you haven’t even hiked the “dangerous” portion yet…Scouts Lookout is where many hikers decide to stop, enjoy the view, and turn back. However, after a mini break, half of our group decided to continue on.
This portion of the hike was pretty daunting and scary, at first, but then you get used to it and just take your time! I really chose not to look down the majority of this portion (but I had my GoPro strapped to my backpack so I knew i’d be able to rewatch the experience as many times as I chose to). This last half mile features a steep and narrow ridge to Angels Landing itself, an observation point 1,500 feet above Zion Canyon. Anchored support chains are attached along some sections of the cliff for assistance during this part of the hike. To increase safety and minimize crowds during the chain section of the hike, Angels Landing will move to a lottery system in 2022.
Arriving at the summit was a dream come true and made it worth every anxious step. The views were nothing short of spectacular and it felt like I had conquered a bucket list item (despite the obvious terror on the way up).
After the hike, we said goodbye to Zion (vowing to return) and drove straight to Bryce. Once we arrived in Bryce we checked into our hotel and immediately went to one of the only two restaurants open at the time, Ruby’s Inn Cowboy Buffet and Steak Room. While the food didn’t stand out, I was famished from the hike and it was already 3pm, so we ate our fill and retired to the hotel early.
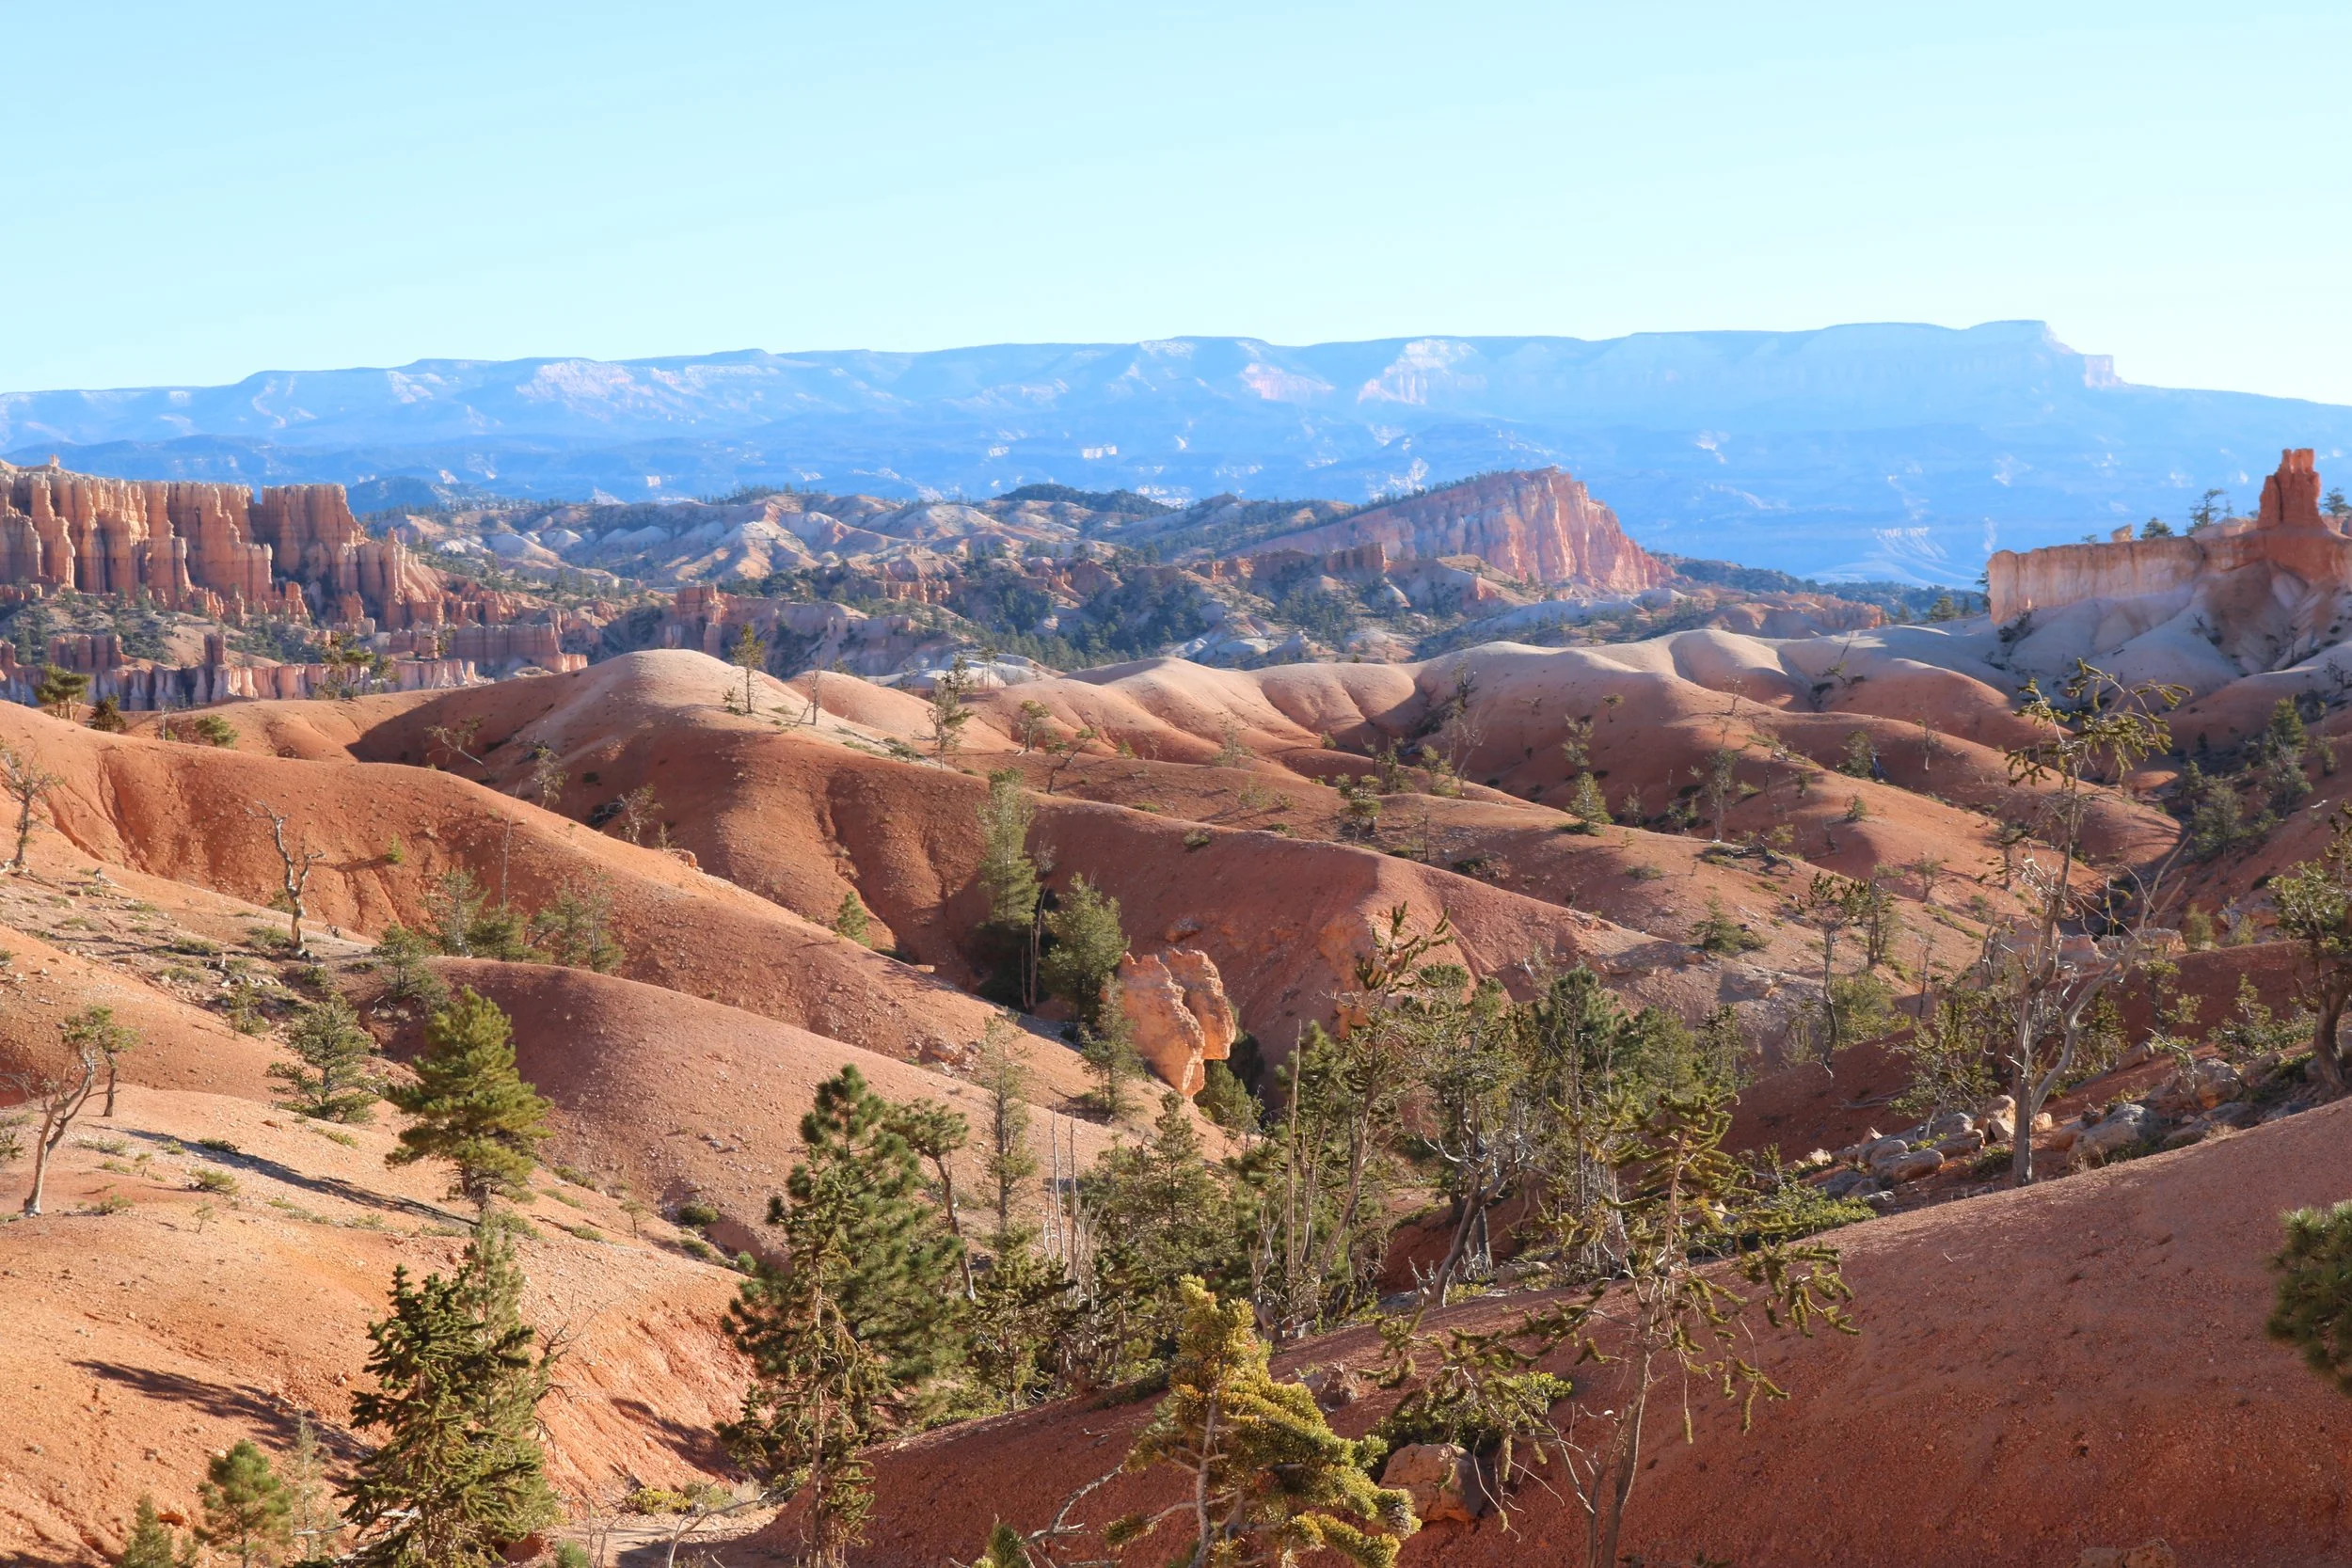
Day 6: Full day in bryce canyon
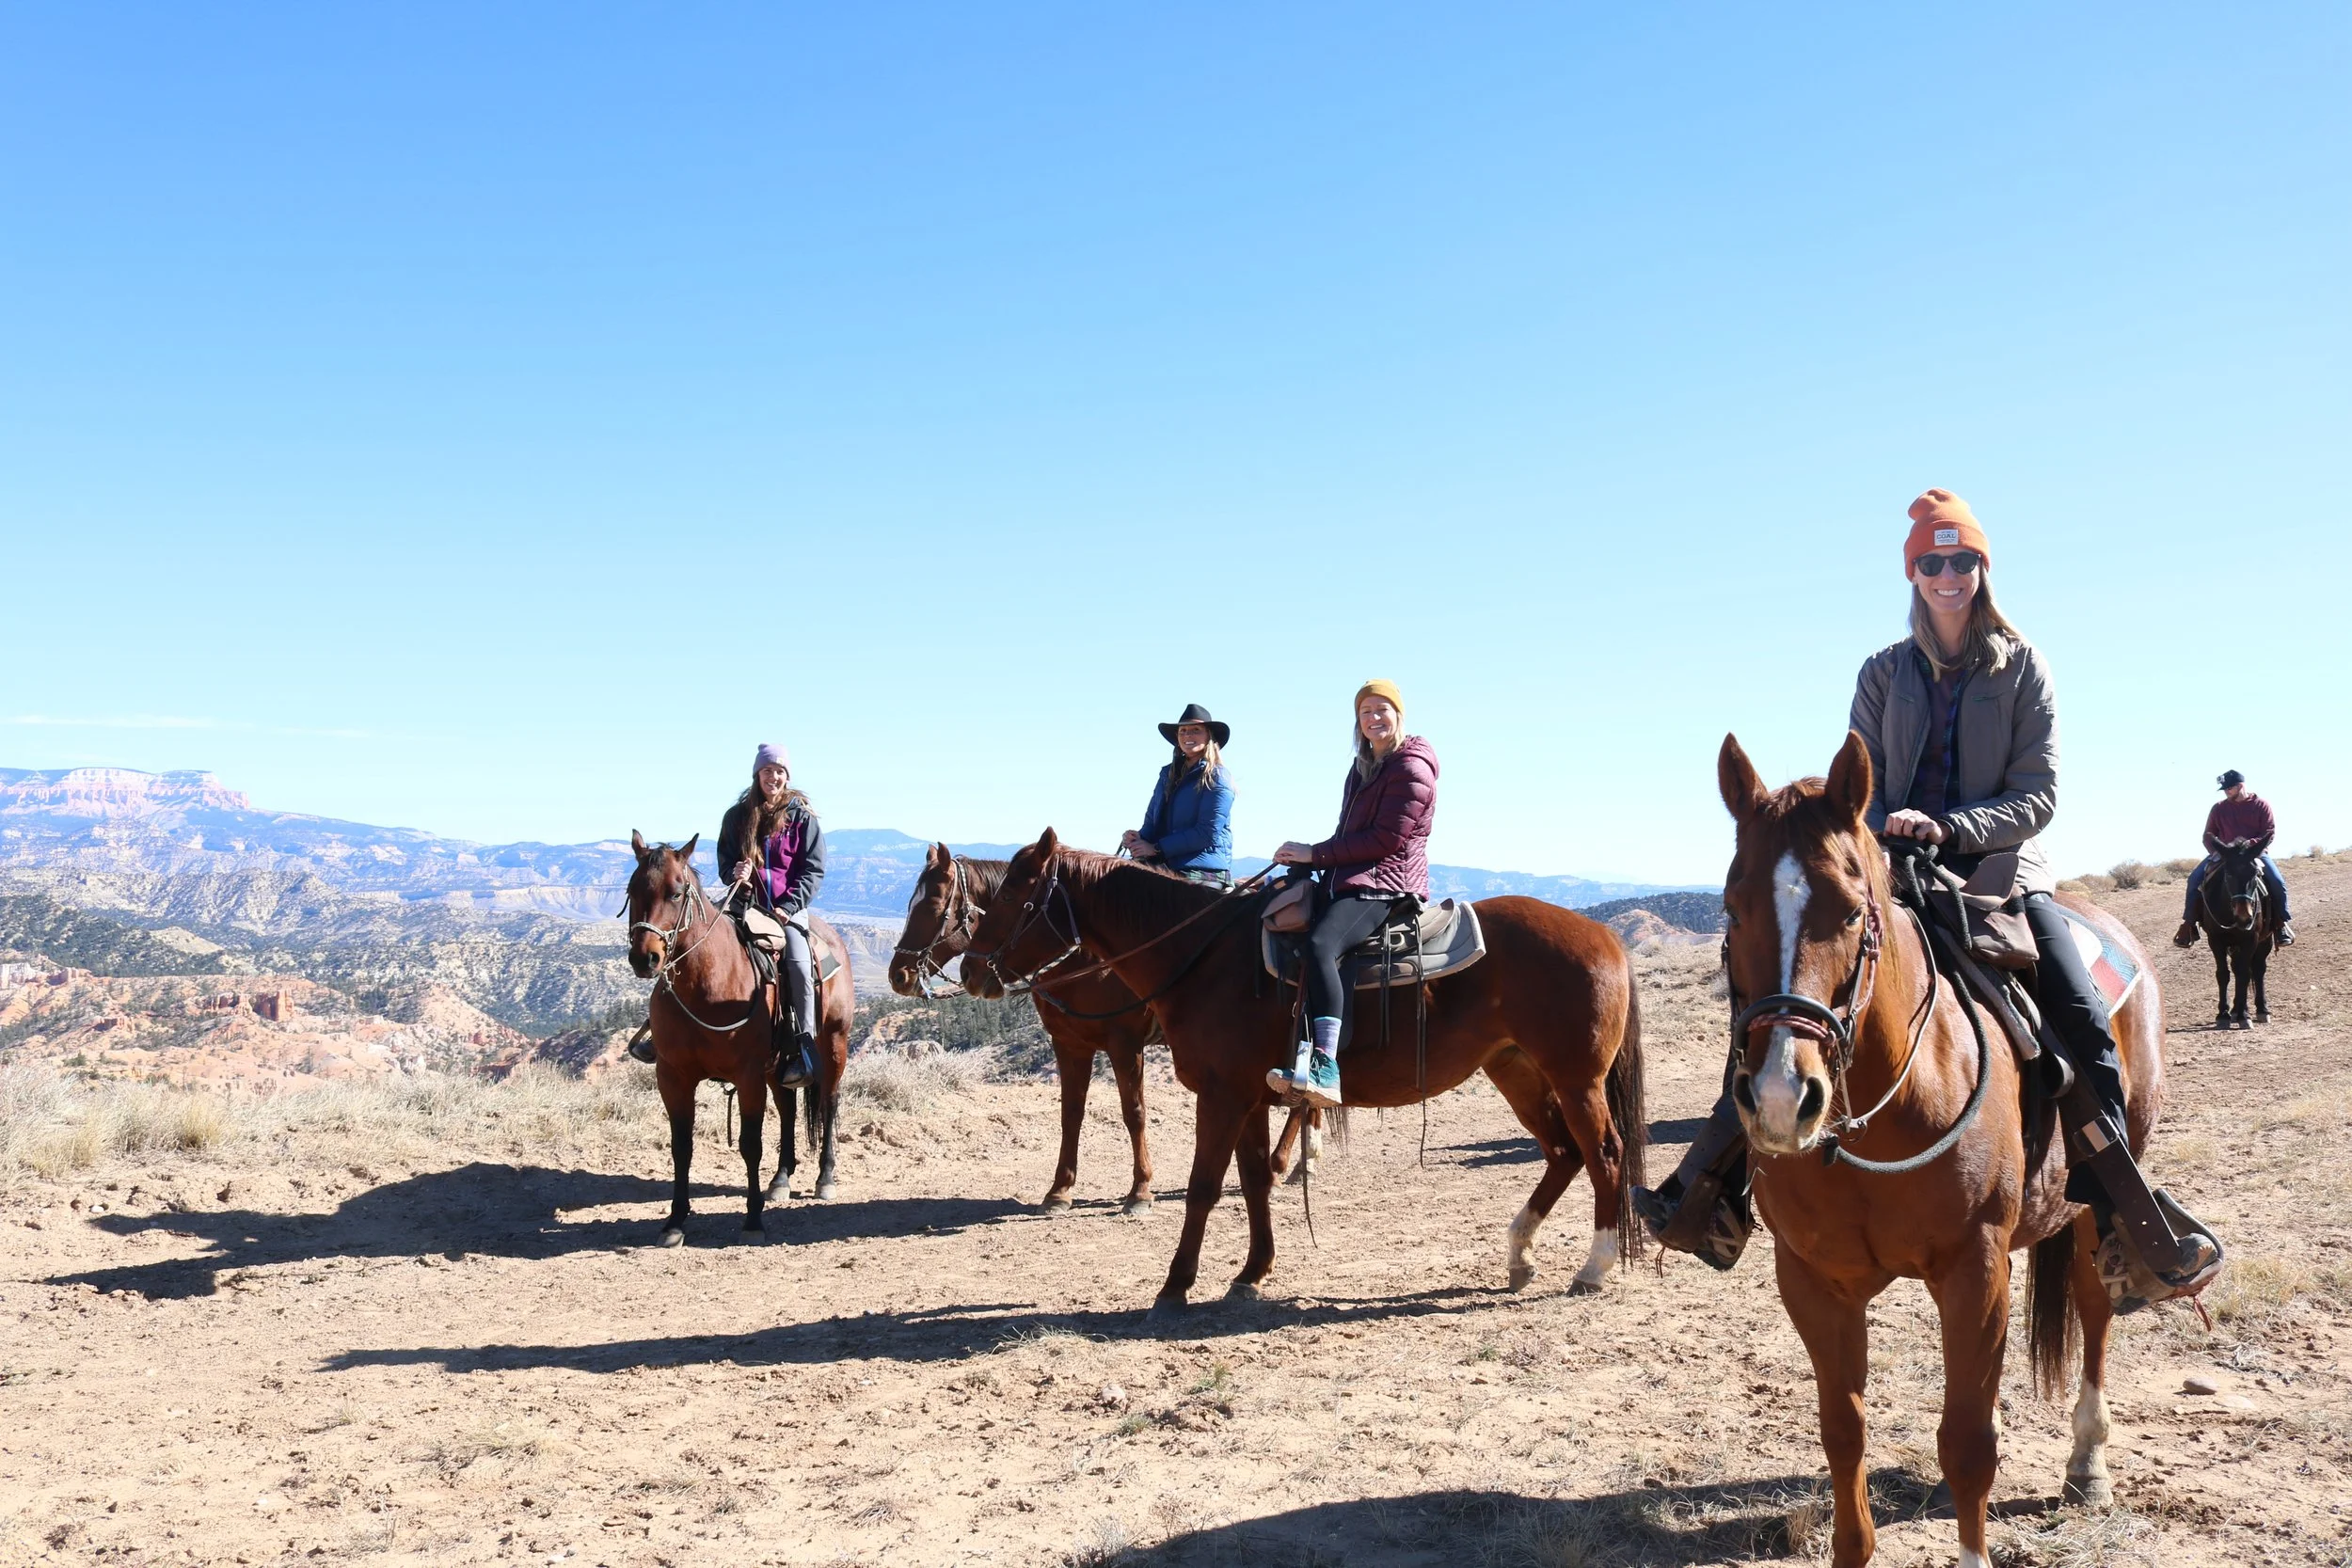
We went a little overboard on this day and filled our plates with things to-do. While absolutely stunning, we decided there probably wasn’t enough in Bryce Canyon to warrant spending two more days there, so we made the aggressive decision to see the entire park in one day (including horseback riding).
Logistics: We drove about 4 miles from the hotel to get to Sunset Point at Bryce Canyon. To enter the park we paid $35/vehicle - again, I should have gotten the America The Beauty pass.
To do: We watched the sunrise at Sunset Point (I know, the irony, right?) and it was incredible. As the sun rose, we hiked down past Thor’s Hammer and to the Queens Garden/Navajo Loop. This was a beautiful and peaceful hike through the park, with unique rock formations throughout. We wanted to do a little extra hiking, so we added on the Peek-A-Boo Loop, which ended up making this a full day of hiking, for a total of 7 miles. We had to hurry at the end of the hike, in order to make it to our 12pm horseback riding appointment. This was a full day of adventure and really goes to show you can easily see Bryce in a day, if you choose to!
After our scheduled events we had lunch (and later, also dinner) at the most highly rated restaurant in town - Bryce Canyon Pines Restaurant. I would just go there for every meal in Bryce, given the other options around.
Day 7: drive to park city, utah

We said goodbye to Bryce Canyon (after our complimentary breakfast) and drove the 4.5 hours to Park City!
Accommodations: We stayed at a friends condo there, but there are plenty of options within the city - whether it be a hotel or house rental depending on your party size.
To do: After a long trip and a full day of driving, we settled into the condo and then headed to town to go shopping and get a late lunch at High West Distillery. They have excellent cocktails and a solid food menu.
Later on, we grabbed dinner close to the condo at a pizza place (seemed to be very family friendly!) and then called an Uber to bring us downtown to The Spur Bar and Grill. There was live music, and the band was excellent.
DAY 8: Explore the area & fly home
Logistics: We walked to get breakfast at Five5eeds, then drove over to visit The Regis Hotel for lunch. Then we headed to the airport in Salt Lake City, dropped off our rental care and then took a shuttle to the airport, so that we could catch our flight back to Boston.
To do: Breakfast at Five5eeds was amazing! The service was fast and the food was perfect, would highly recommend this restaurant. After breakfast we headed back to the condo to pack up our stuff (plus, a couple of us decided to take an at-home covid test before going back to our babies). We made a stop at The St. Regis Deer Valley to admire the luxurious grounds and have a quick lunch at their Mountain Terrace restaurant.
The drive from Park City to Salt Lake City was a quick 40 minutes and the airport experience was a breeze. I was so thrilled to land in Boston and to have Kyle pick me up (it was around midnight, so the girls were with their grammy). I couldn’t wait to squeeze them both the next morning - bright and early!
Until next time, Utah!
As always, live presently and travel often!
Kailah